General
Materials
This is the list of mechanical materials we used while developing the robot:
| Name | Use | Product Image |
|---|---|---|
| 3mm MDF | Made up earlier parts of the robot | 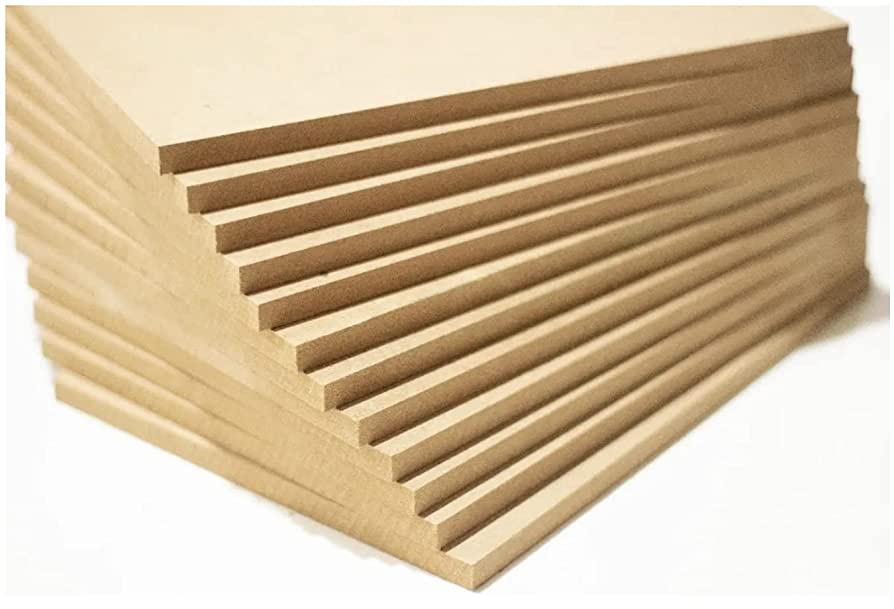 |
| ABS filament | Make up most CAD parts of the robot | 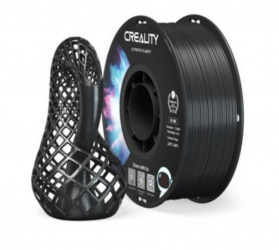 |
| PLA filament | Make up few CAD parts of the robot | 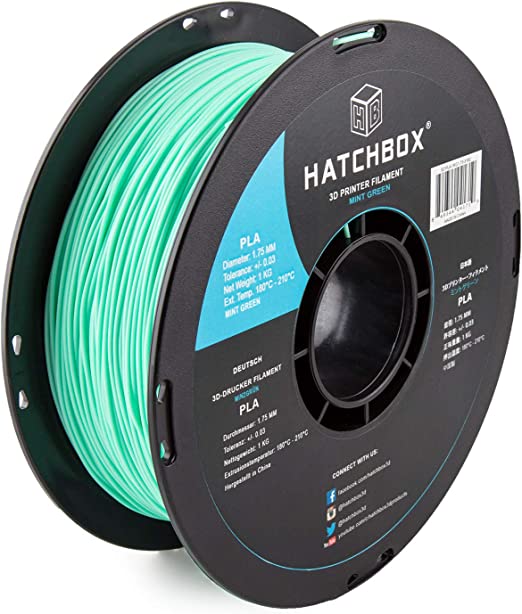 |
| Male-female nylon spacers | Connecting separated robot pieces | 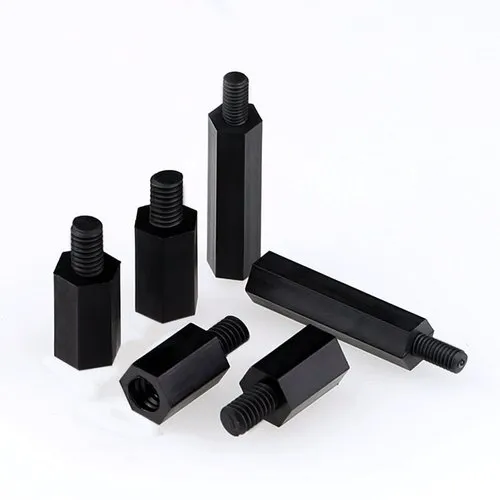 |
| M3 6mm round-head nylon screws | Fixing in place the robot pieces | 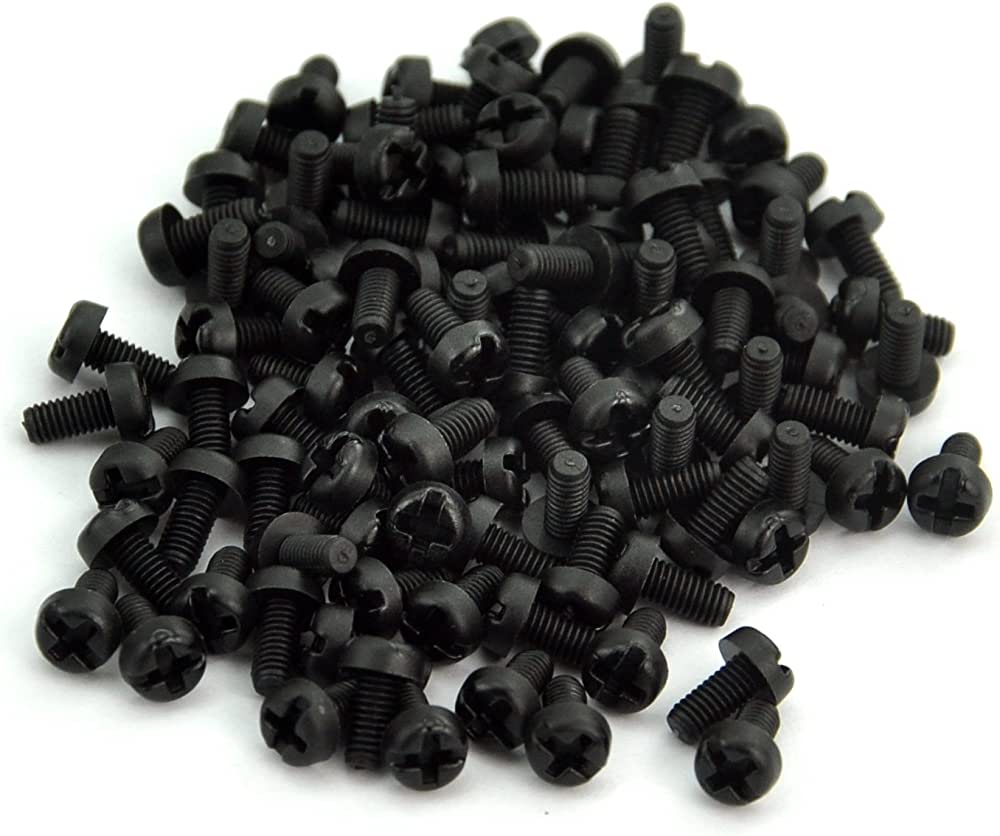 |
| M3 10mm flat-head steel screws | Fixing in place the robot pieces | 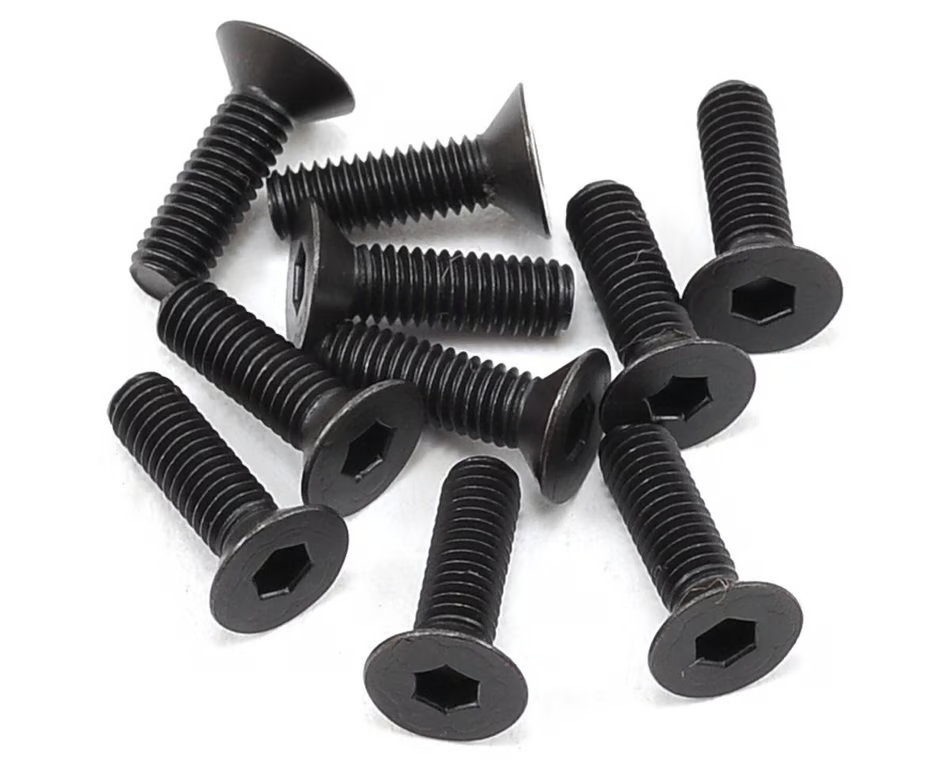 |
| M3 nylon nuts | Fixing in place the robot pieces | 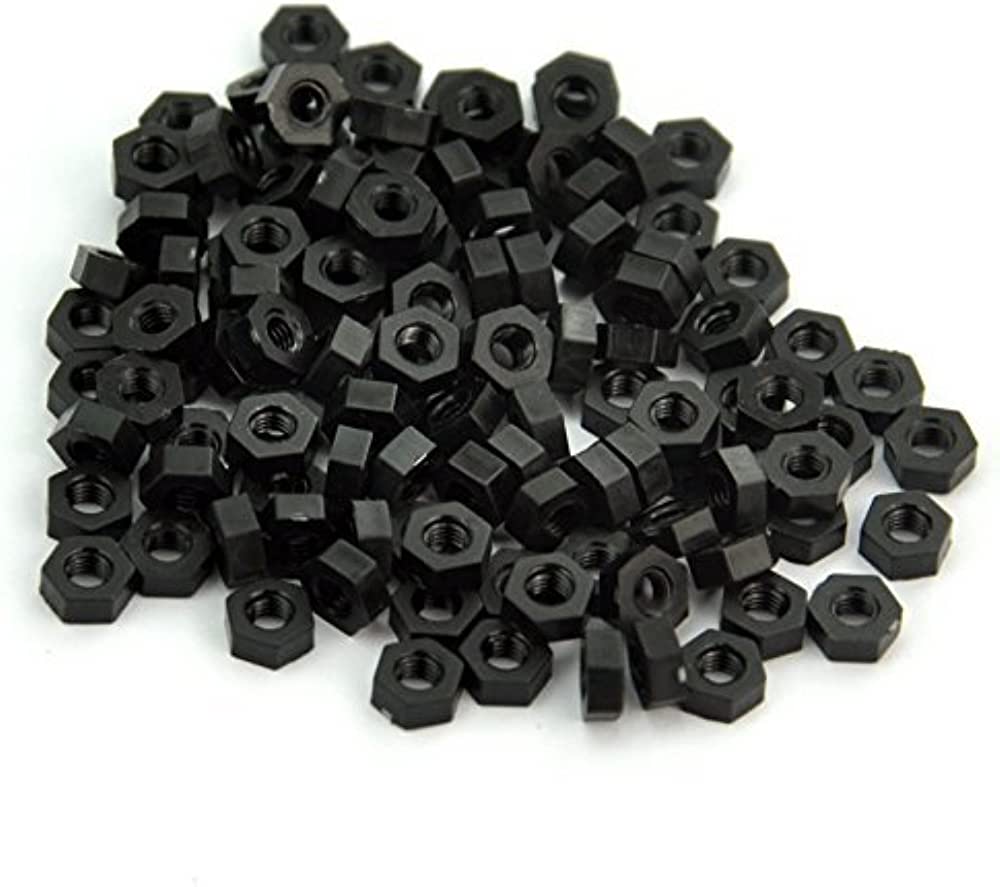 |
| M3 steel nuts | Fixing in place the robot pieces | 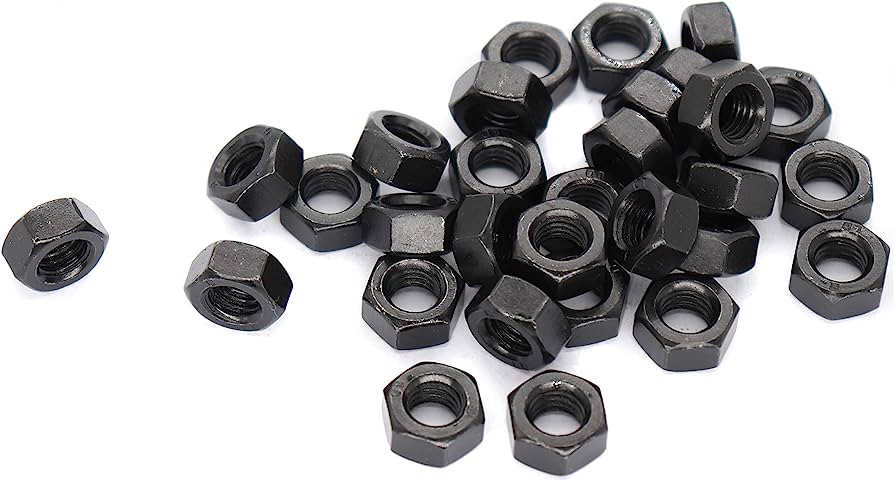 |
- Piece materials
We did an extensive research on observing what material could be used that is both lightweight and impact resistant. The material we first used was MDF, because it was cheap, easy to manufacture, and lightweight, but it wasn't very impact resistant. Other teams where using carbon fiber fillaments or carbon fiber plates, but these were out of our budget. We used PLA to make parts that we couldn't make on MDF, but this material is more heavy and also not impact resistant.
We ended up settling on ABS, which is a weight intermediate between MDF and PLA, but is very impact resistant. This material, however, is very difficult to print. The results after printing definetely showed a considerable impact improvement over the MDF used earlier, with only a slight increase on weight.
The reason we didn't make the robot entirely out of ABS was mostly for time and the difficulty of printing it, but because it's less dense than PLA it would've definetely been better if we made it all out of ABS. Not to mention it would've been more aesthetically pleasing to have it all black.
- Support materials
The materials used to support the robot worked very well. The combination of nylon spacers, metal nuts and screws made it so that we had a sturdy and lightweight support for the pieces. And if the support didn't need to be as sturdy, we used nylon screws and nuts. We also found that the best way to place the spacers is upside down: putting the screw at the bottom and the nut at the top. This is because gravity paired with the vibrations of movement and crashes makes it so that the nuts fall out easier.
Tools
This is the list of tools we used to manufacture the robot:
| Name | Use | Product Image |
|---|---|---|
| Fusion360 | CAD program |  |
| Laser cutter | Cutting MDF | 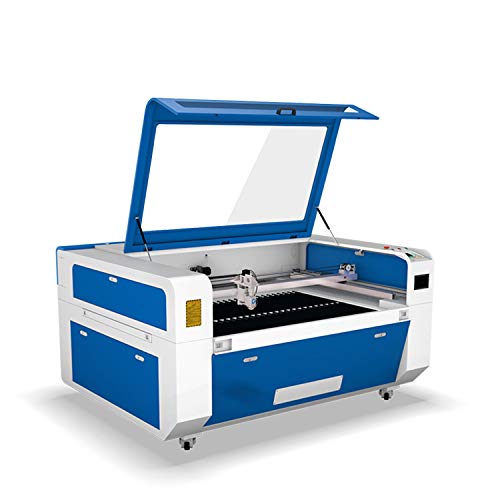 |
| Ender 3 V2 | Printing PLA | 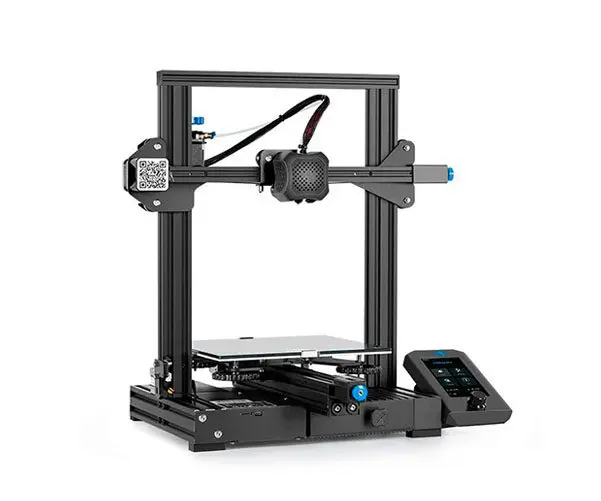 |
| Artillery Sidewinder X2 | Printing ABS | 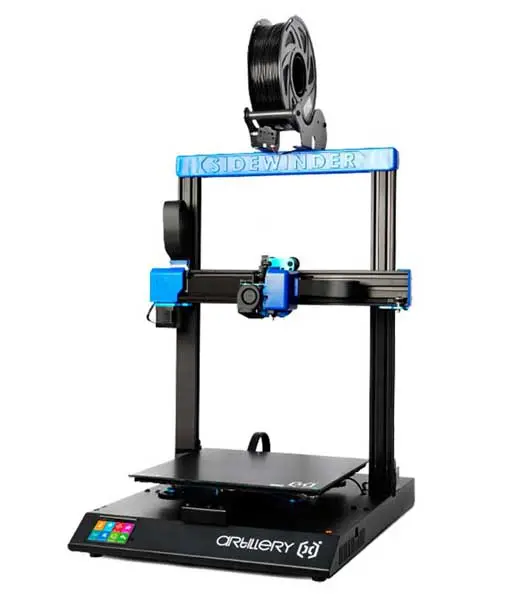 |
- Software
I used Fusion360 for the robot's design because it's the one i'm more used to and because it's compatible with my operating system. Our team uses Solidworks a lot more tho, so although I think Fusion360 works very well it's better to all use the same program so that other members can help you easier.
- Hardware
The machines we used where either ours or from the laboratories of our institution. The laser cutter and the Sidewinder were located in the SmartFactory laboratr, while the the Ender is in our laboratory.
As stated before, ABS was very difficult to print. We tried using our Ender, but the resulting pieces didn't look right and it also caused some problems when the nozzle plugged and caused the hot ABS to melt the plastic cover of the printer. We tried using to
We would definetely recommend using the Zortrax material so that the
Robot timeline
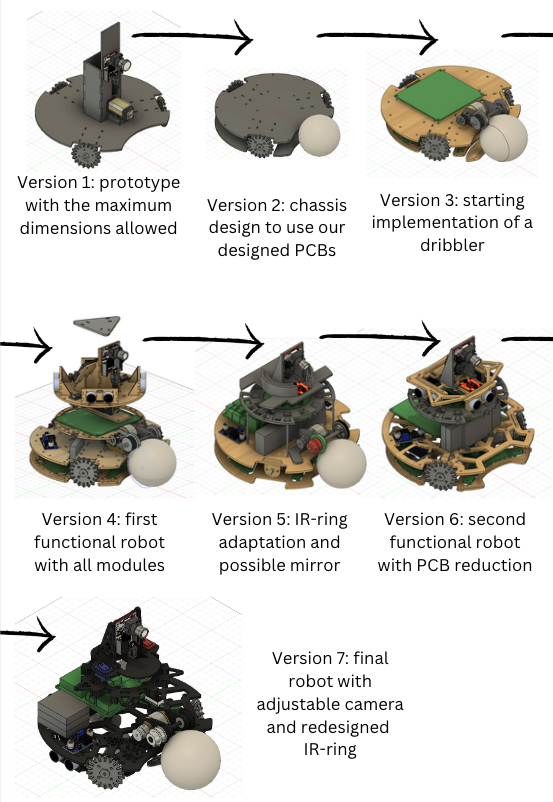
These are the robot's different versions as we progressed in its design:
