platformIO - VSCode extension
Note: If you want to explore this and more info, check the oficial platformIO documentation
PlatformIO is an extension for VSCode that turns the editor into an IDE for programming microcontrollers. With this tool, we can program directly from VSCode, have better version control using Git and GitHub, and organize our code in a more structured way.
To organize the code, PlatformIO uses the following structure:
- platformio.ini: PlatformIO configuration file. This is where you define the board, environment, libraries, serial monitor speed, and other settings.
lib/: Folder where custom libraries for each component are stored.
It's important to mention that inside the lib/ folder, you should create a subfolder for each library.
Example:
SoccerLightweight
│
├── lib/
    ├── Ultrasonic/
    │   ├── Ultrasonic.h
    │   └── Ultrasonic.cpp
    └── Motors/
        ├── Motors.h
        └── Motors.cpp
src/: Folder where the source files to be uploaded to the microcontroller are located, typically themain.cppfile. As part of our strategy, we developed different code files to test each sensor individually, as well as a main program for the goalkeeper and another for the striker.
How to have many main.cpp files to test different codes into de robot:
In the src/ folder, you can have as many files as you want but just one is going to be the main.cpp
If you want to have different versions of codes that you want to run, you need to create one enviornment for each version on the platformio.ini file
Example and instructions
For this example, we have 2 versions of code. One file for each.
these files are on thesrc/ folder
1. Create the enviornment
On the platformio.ini file, there would be an enviornment for each code
On the first place, there would just be one enviornment for the main.cpp that was created automaticaly with the project
In an example where we create a simple project to work with an arduino uno, a default enviornment would look like this:
where:
- [env:NAME] = you can name your enviornment as you want
- platform = in which platform are you working
- board = which board are you using
- framework = arduino
- lib_deps = librarys that you need for your code
Note that lib_deps is not included by default
In this example, we are working on a teensy. The environment for the main.cpp would be:
[env:teensy41]
platform = teensy
board = teensy41
framework = arduino
lib_deps =
    Wire
    adafruit/Adafruit Unified Sensor
    adafruit/Adafruit BNO055 @ ^1.5.0
We also create a new enviornment for testing specific functions
[env:Test_Photo]
platform = teensy
board = teensy41
framework = arduino
build_src_filter = +<Test_Photo.cpp> -<main.cpp>
In this case where we have different codes, is important to make sure that on lib_deps just include the libraries you would use in that specific code. Don't include all libraries in all enviornments if you are not using all of them in all your code versions.
2. Select the correct enviornment
On VSCode, you need to chose which enviornment do you want to compile and upload to your robot
Click where it says the default enviornment you are working at
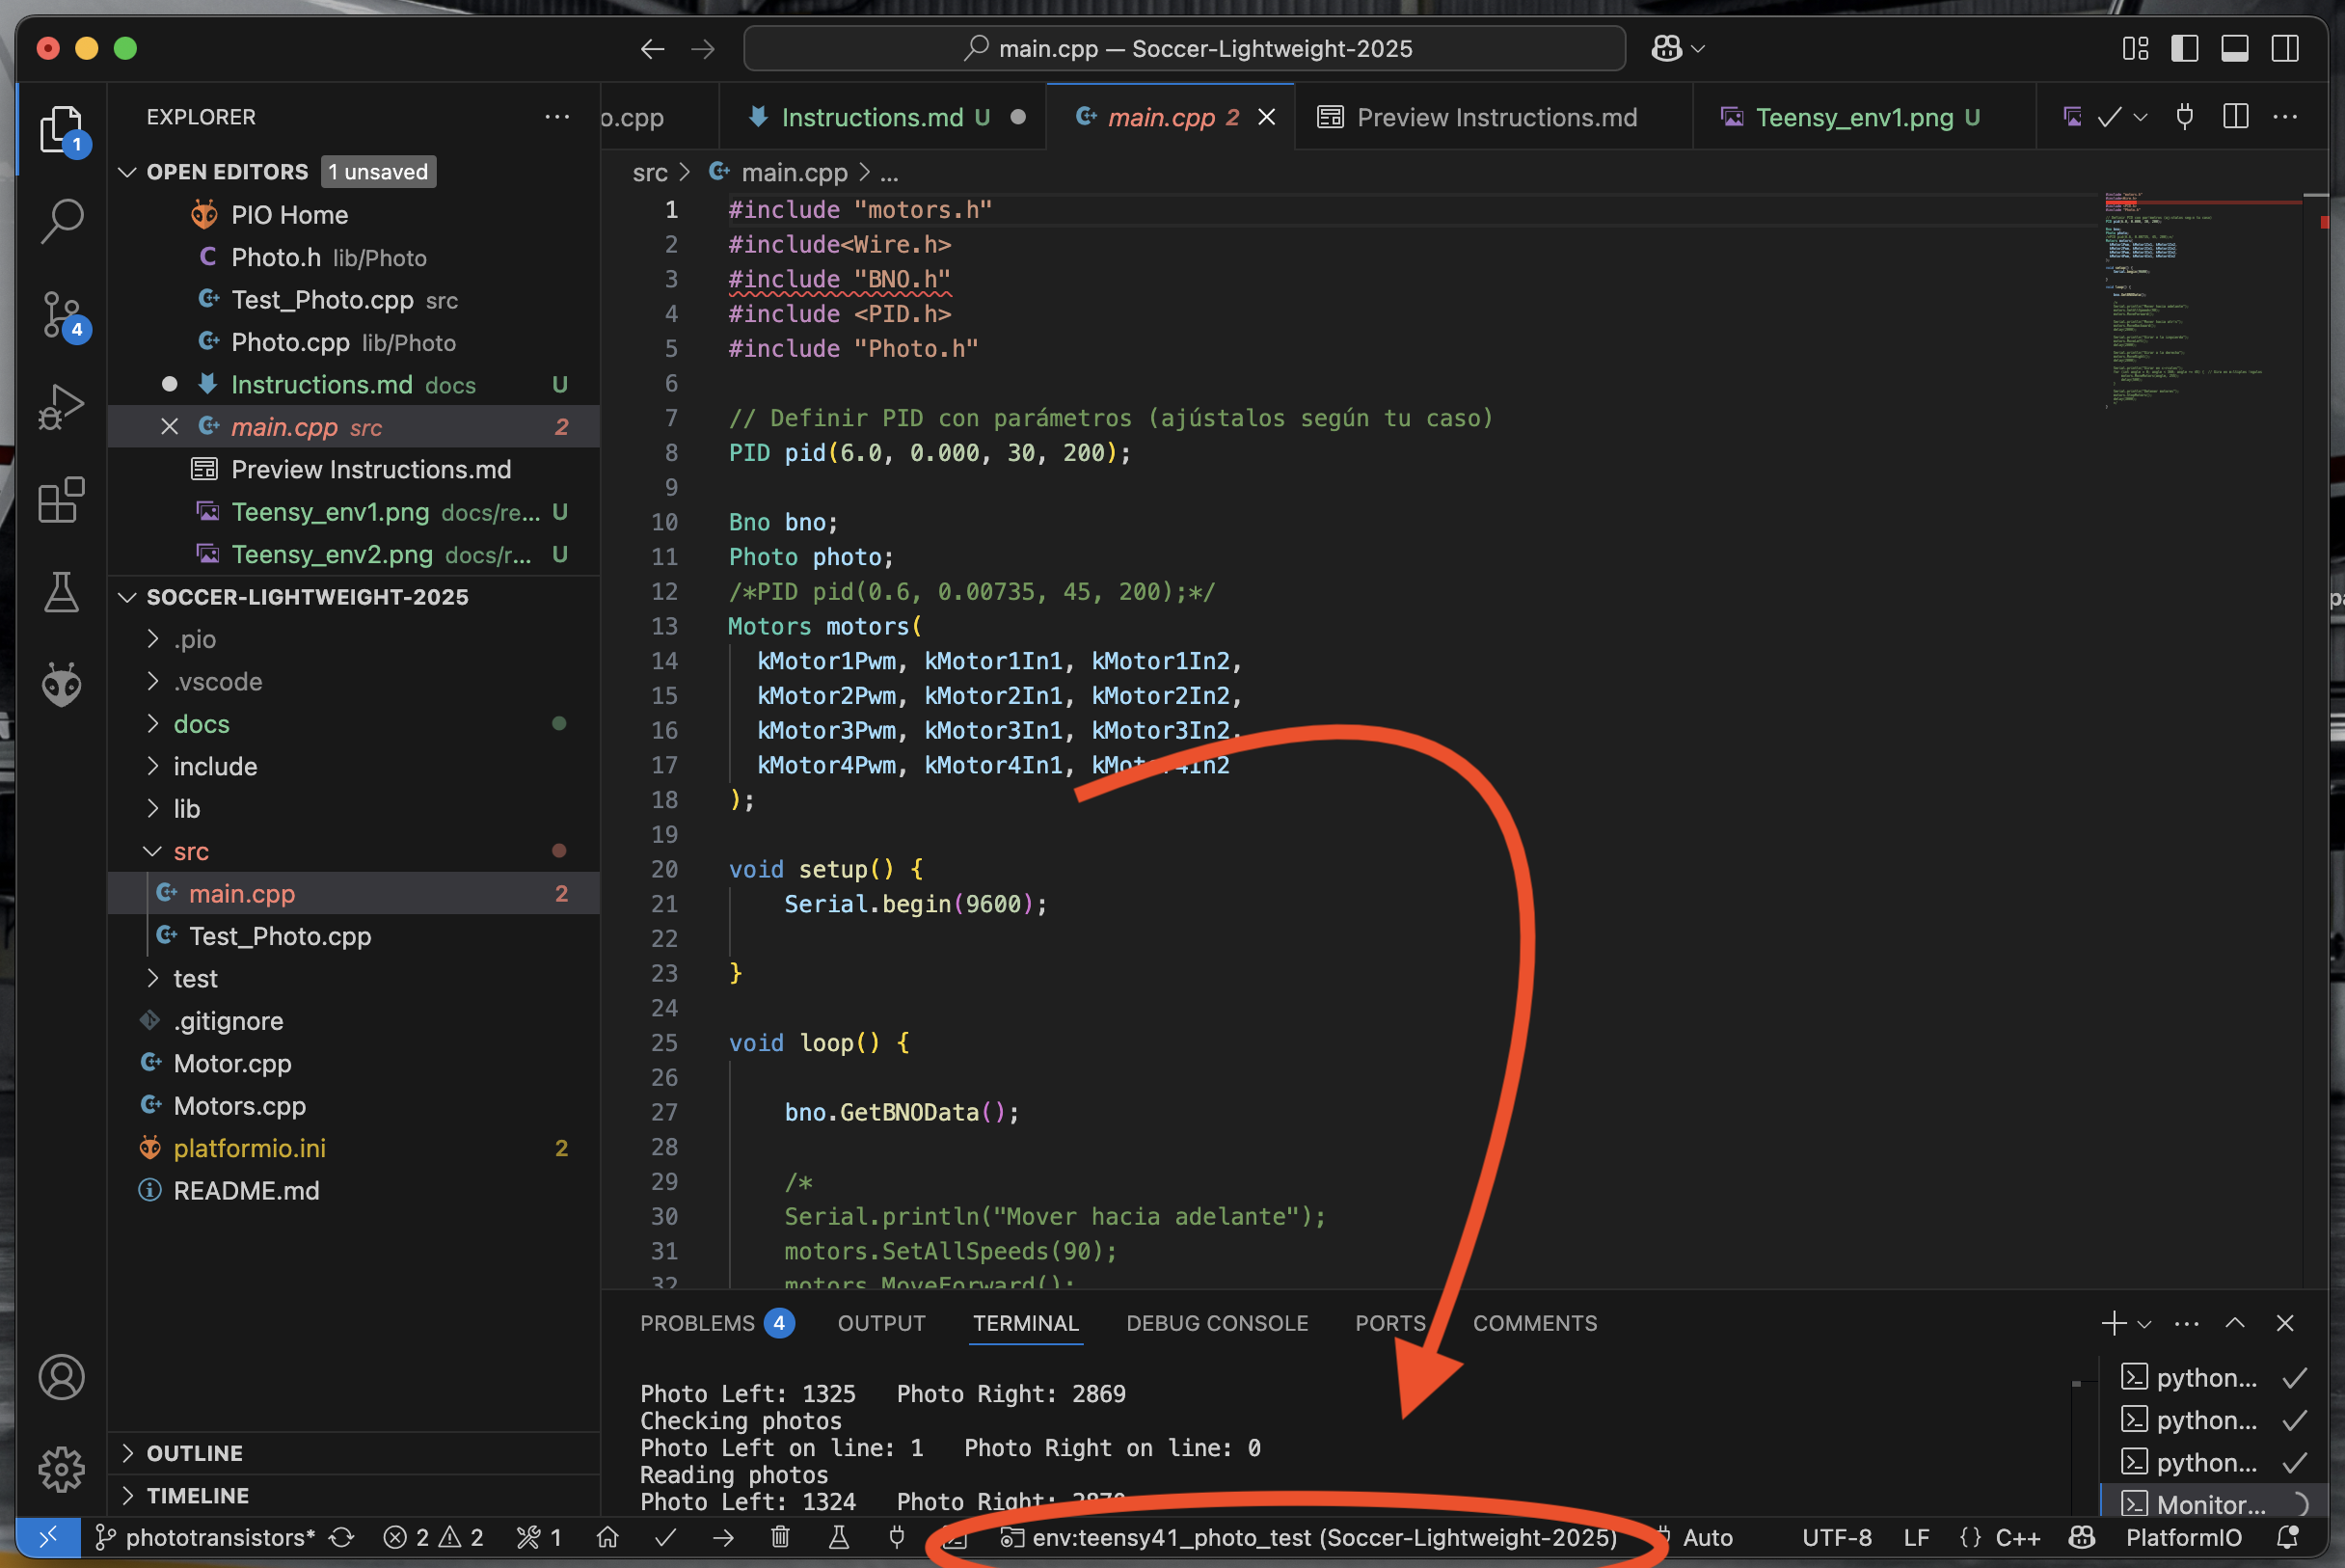
Thene, chose the enviornment you want. It should apear with the name you called your enviornment
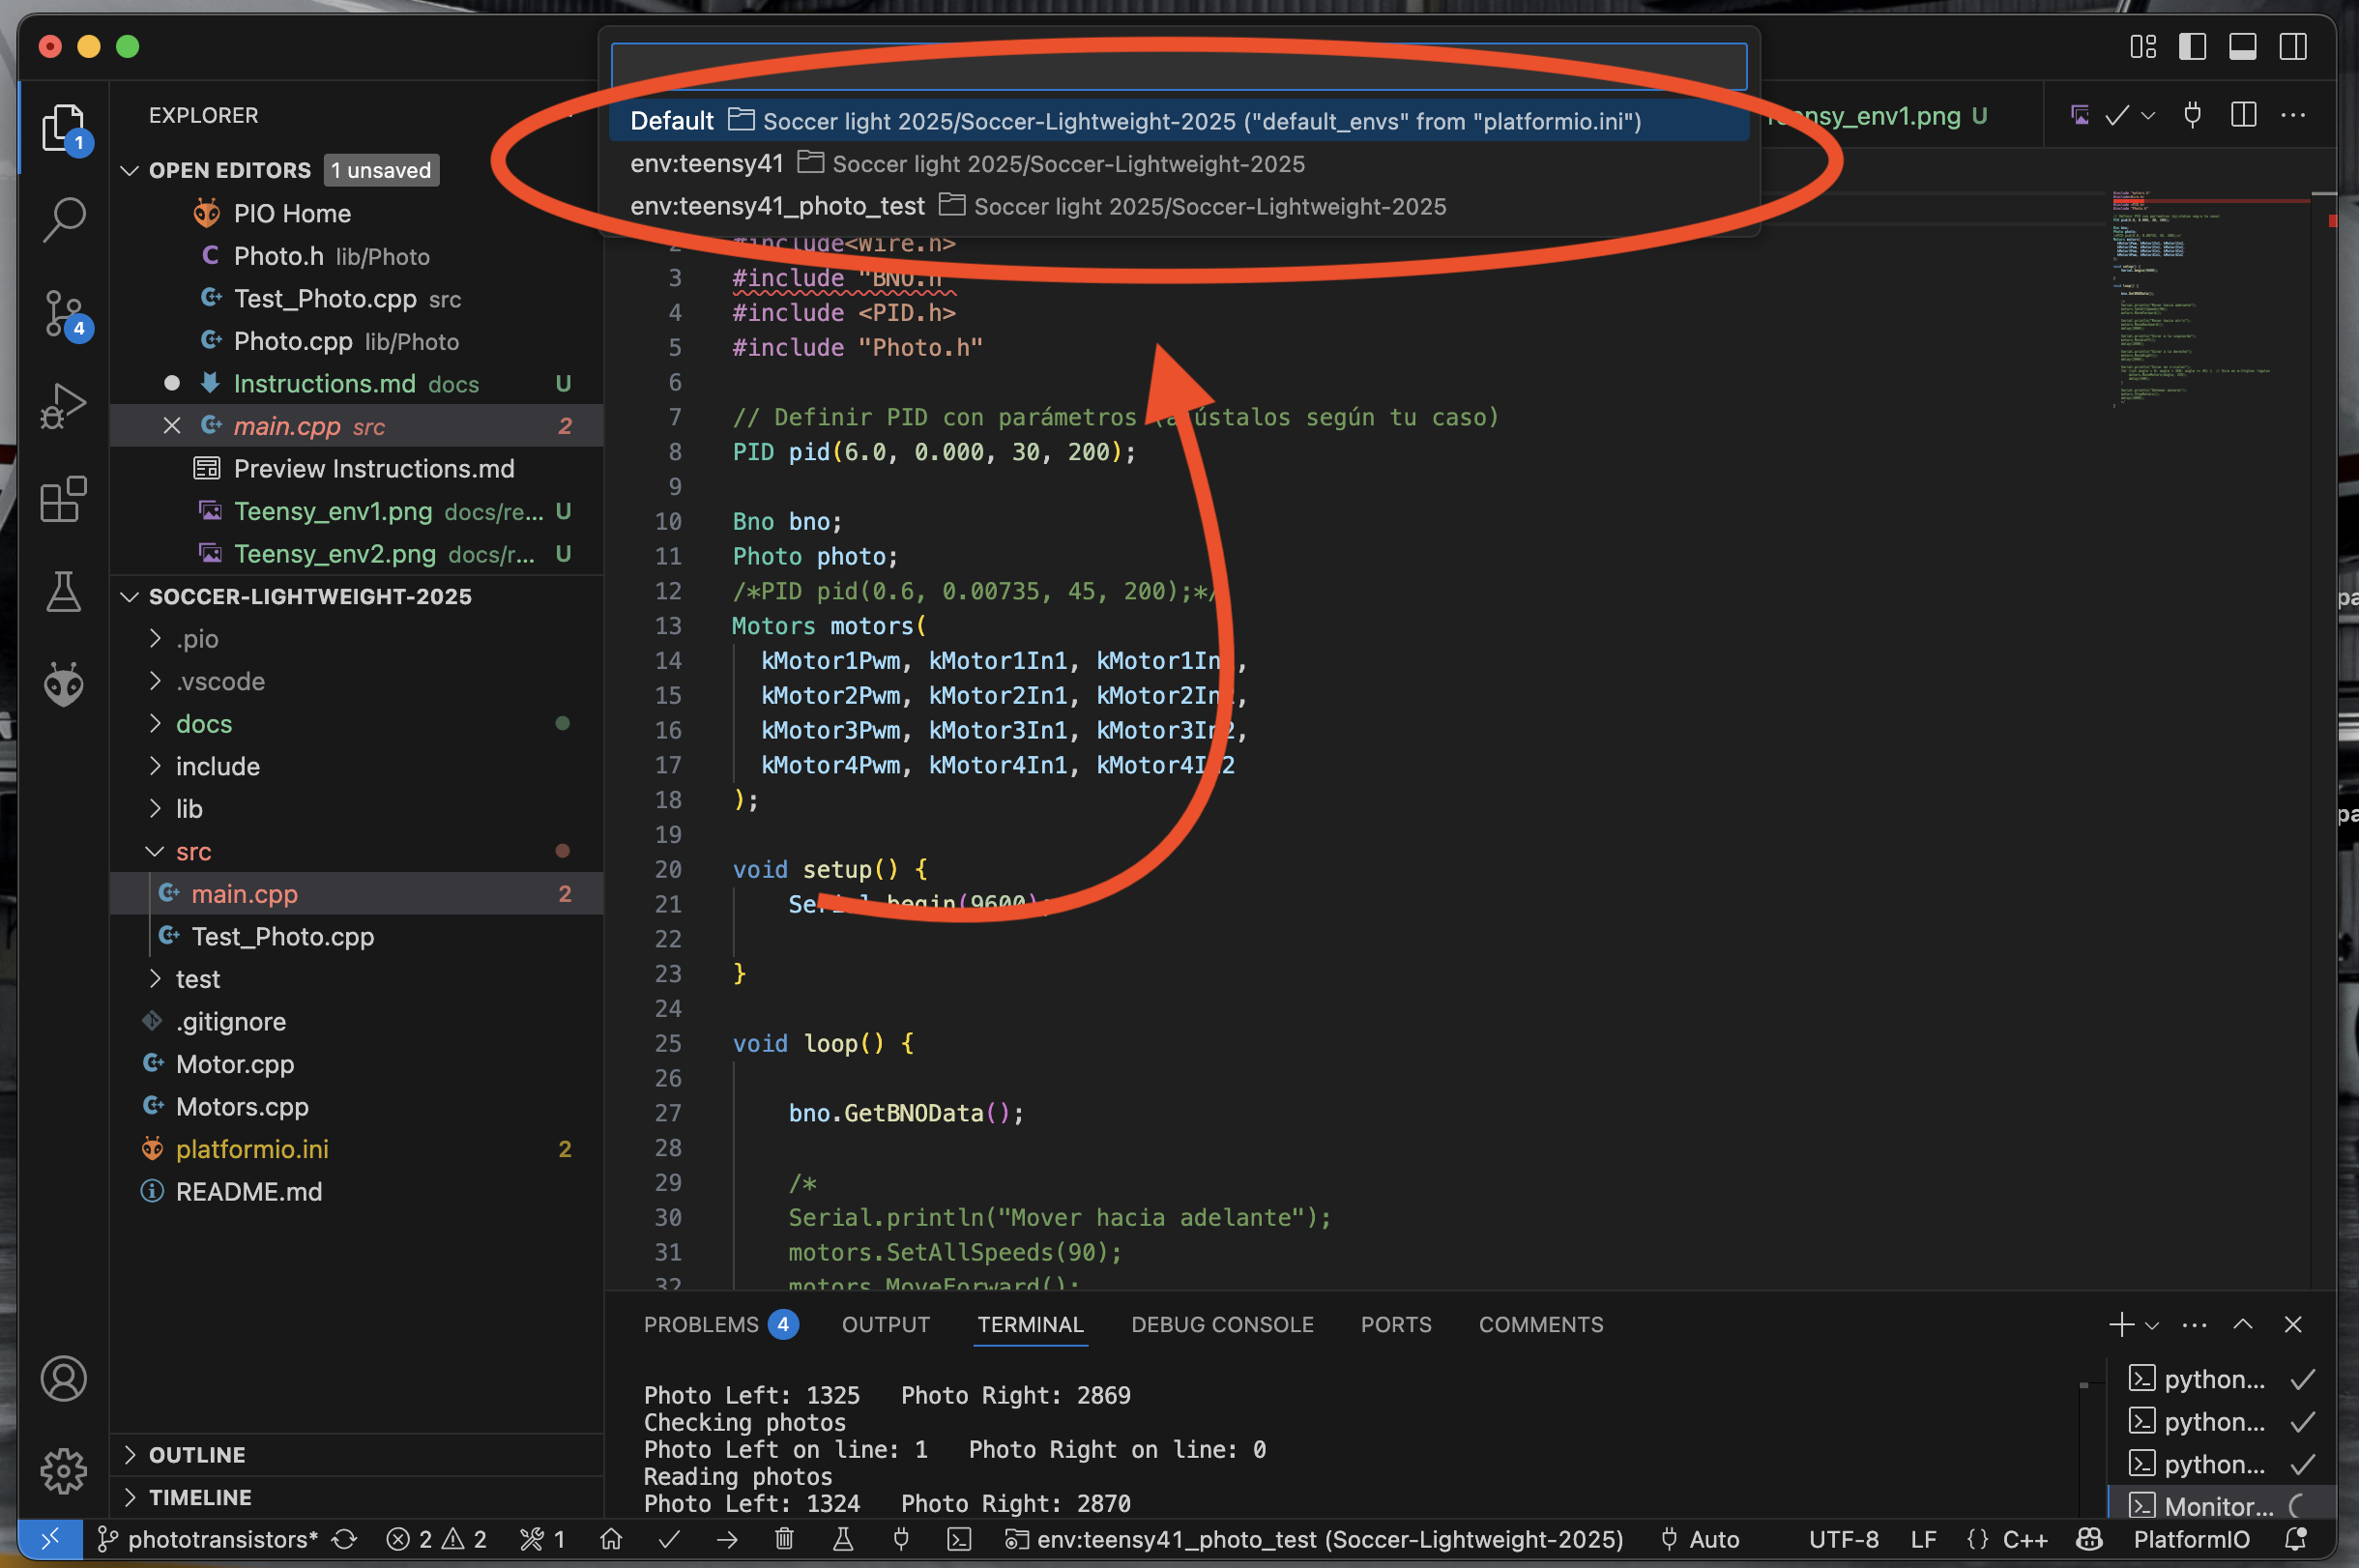
*** Note that there is also the option of running a command on the terminal but it didn't work when we try it. ***
3. Make sure to run just the code you want to run
We want to make sure that the platform just run one main file. To do that, you need to specify on the platformio.ini file adding the folowing line:
For example:
On the enviornment we want to run the main.cpp file, our line should be like this:
Test_Photo.cpp file, our line should be like this:
4. enviornments configuration
The final configuration with our 2 code versions should look like this
[env:teensy41]
platform = teensy
board = teensy41
framework = arduino
lib_deps =
    Wire
    adafruit/Adafruit Unified Sensor
    adafruit/Adafruit BNO055 @ ^1.5.0
build_src_filter = -<Test_Photo.cpp> +<main.cpp>

[env:Test_Photo]
platform = teensy
board = teensy41
framework = arduino
build_src_filter = +<Test_Photo.cpp> -<main.cpp>
5. Compile and upload
You can find the same icons as Arduino IDE has
Important
Check our platform.ini file to see how the differente enviornments are configurated